
Introduction
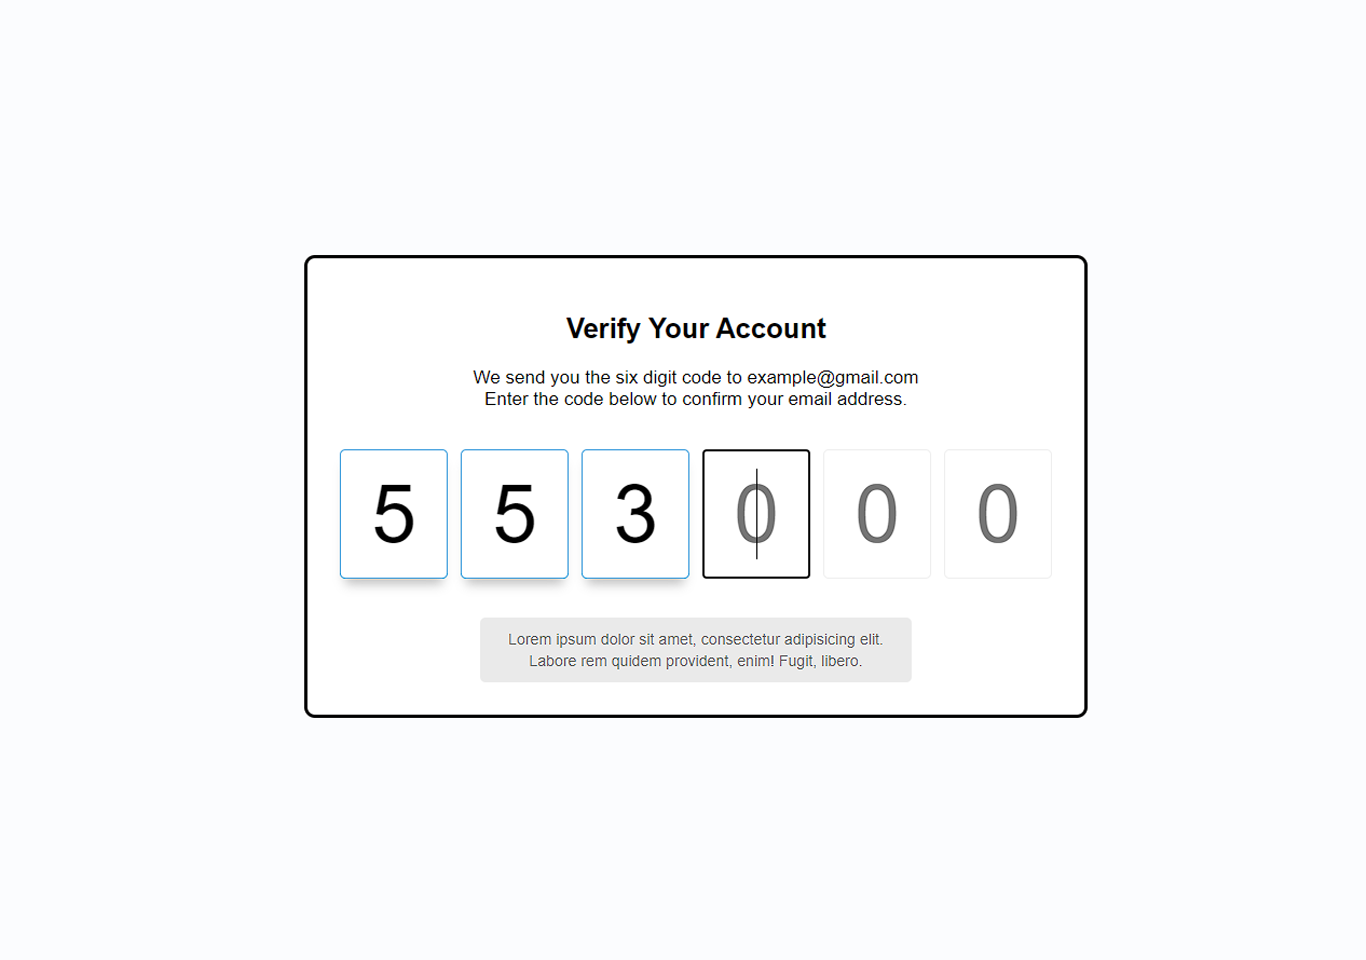
Verify Account UI is a web-based project. This dialogue message appears inside your Gmail when you are asked to verify your email. It is coded in HTML5, CSS, and JavaScript.
When your front-end is developed using fundamental web technologies such as HTML, CSS, and JavaScript, incorporating a structured verification process can significantly enhance both performance and user satisfaction. In this tutorial, we will be creating a simple verify account interface. This message appears during registering on a website. First, we need to create a folder containing HTML, CSS, and JS files.
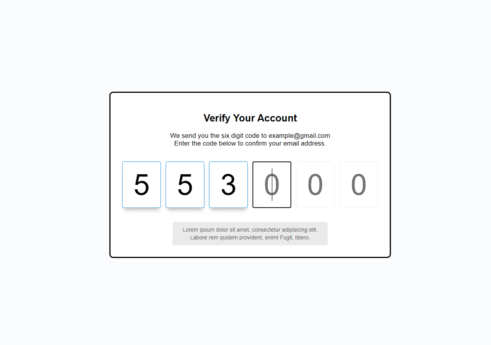
You need to enter the six-digit code which you receive in the email. When you enter those codes your email will be verified. This verify account project has a simple layout. This verify the account project’s functionality is made with CSS and JavaScript. HTML is basically for adding text and numbers on screen. When you enter a number you will see a pop up shadow box effect on it. We are using google fonts in this project. You need to run index.html file in the browser to run the project. See the screenshot below.

Building the project
The user interface (UI) of any website or web application is the first impression that users receive. Even if the fundamental functionality is intact, a bad layout, inconsistent behavior, or broken interaction might drive consumers away. HTML organizes the material, CSS styles it, and JavaScript adds interactivity. Each of these levels must function together in harmony. However, even a minor code change can unintentionally destroy a visual element, which may go undiscovered without a thorough UI testing approach is in place.
The user interface (UI) of any website or web application is the first thing that users see. Even if the essential functionality is intact, a poor layout, inconsistent performance, or broken interaction may turn customers away. HTML organizes the content, CSS styles it, and JavaScript provides interactivity. Each of these layers must work together in harmony. However, even simple code changes can unintentionally ruin a visual element, which may go unnoticed unless a rigorous UI testing strategy is in place.
Click the download button below to get the source code for this verify account project.