

Introduction
Drag and drop is a web based project. It is coded in HTML5, CSS, and JavaScript. It displays several boxes where an image can be dragged.
In this tutorial, we will be creating a simple drag and drop app. This app will gives you idea of drag and drop image in several boxes. First we need to create a folder with html, css, and js files. This project’s functionality is made with JavaScript.
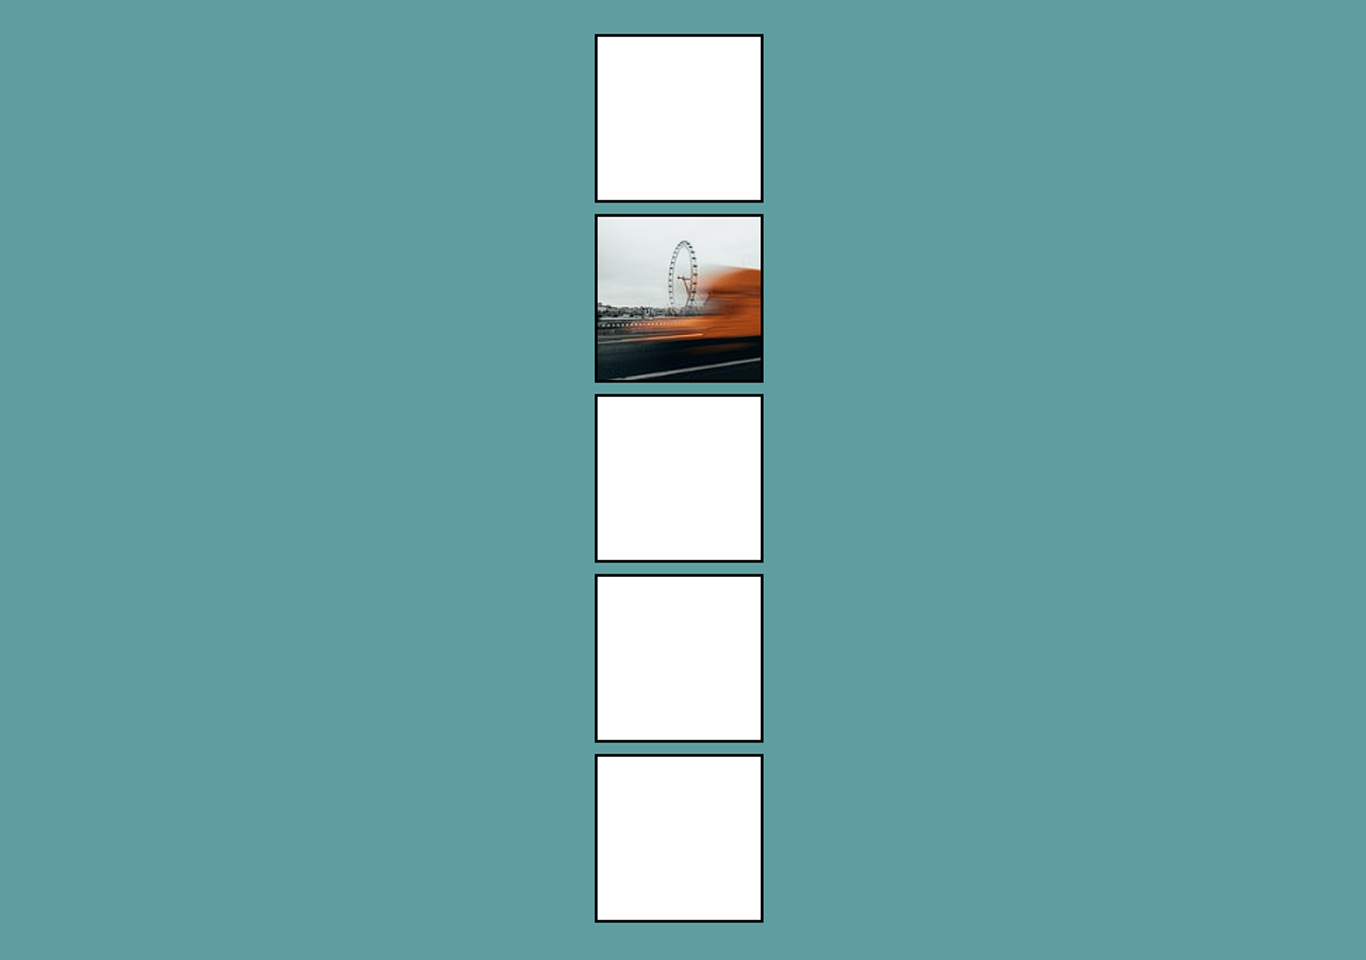
This project shows grid box layout where the image will be dragged. We are creating empty grid box and using a random image from unsplash to drag and drop in to the boxes. You need to run index.html file in the browser to run the project. See the screenshot below.

Drag and drop source codes
HTML will be used for displaying boxes on screen. We are using a random image from unsplash website.
index.html
<!DOCTYPE html>
<html lang="en">
<head>
    <meta charset="UTF-8">
    <meta http-equiv="X-UA-Compatible" content="IE=edge">
    <meta name="viewport" content="width=device-width, initial-scale=1.0">
    <link rel="stylesheet" href="https://cdnjs.cloudflare.com/ajax/libs/font-awesome/5.15.2/css/all.min.css" integrity="sha512-HK5fgLBL+xu6dm/Ii3z4xhlSUyZgTT9tuc/hSrtw6uzJOvgRr2a9jyxxT1ely+B+xFAmJKVSTbpM/CuL7qxO8w==" crossorigin="anonymous" />
    <link rel="stylesheet" href="style.css">
    <title>Dragging</title>
</head>
<body>
  <header>
    <div class="empty">
      <div class="fill" draggable="true"></div>
    </div>

    <div class="empty"></div>
    <div class="empty"></div>
    <div class="empty"></div>
    <div class="empty"></div>

    <script src="script.js"></script>
</body>
</html>
We will be using CSS for styling the whole project. Such as background colour, icons, text, box layout, aligning, flex-items, colours and many more.
style.css
* {
    box-sizing: border-box;

}

body {
  background-color: cadetblue;
  display: flex;
  align-items: center;
  justify-content: center;
  height: 100vh;
  overflow: hidden;
  margin: 0;

}

.empty {
  height: 150px;
  width: 150px;
  margin: 10px;
  border: solid 3px black;
  background: white;

}

.fill {
  background-image: url('https://source.unsplash.com/random/150x150');

  height: 145px;
  width: 145px;
  cursor: pointer;
}

.hold {
  border: solid 5px #ccc;
}

.hovered {
  background-color: #333;
  border-color: white;
  border-style: dashed;
}
The JavaScript code is used for making the image dragable to the boxes. You click the image and drag to the specific box and drop it. Check the code below.
script.js
const fill = document.querySelector('.fill')
const empties = document.querySelectorAll('.empty')

fill.addEventListener('dragstart', dragStart)
fill.addEventListener('dragend', dragEnd)

for(const empty of empties) {
    empty.addEventListener('dragover', dragOver)
    empty.addEventListener('dragenter', dragEnter)
    empty.addEventListener('dragleave', dragLeave)
    empty.addEventListener('drop', dragDrop)
}

function dragStart() {
    this.className += ' hold'
    setTimeout(() => this.className = 'invisible', 0)

}

function dragEnd() {
    this.className += ' fill'
}

function dragOver(e) {
    e.preventDefault()
}

function dragEnter(e) {
    e.preventDefault()
    this.className += ' hovered'
}

function dragLeave() {
    this.className = 'empty'
}

function dragDrop() {
    this.className = 'empty'
    this.append(fill)
}