

Introduction
Slider project is a sliding image-based web project. It is coded in HTML5, CSS, and JavaScript. This project deals with a sliding image with backgrounds.
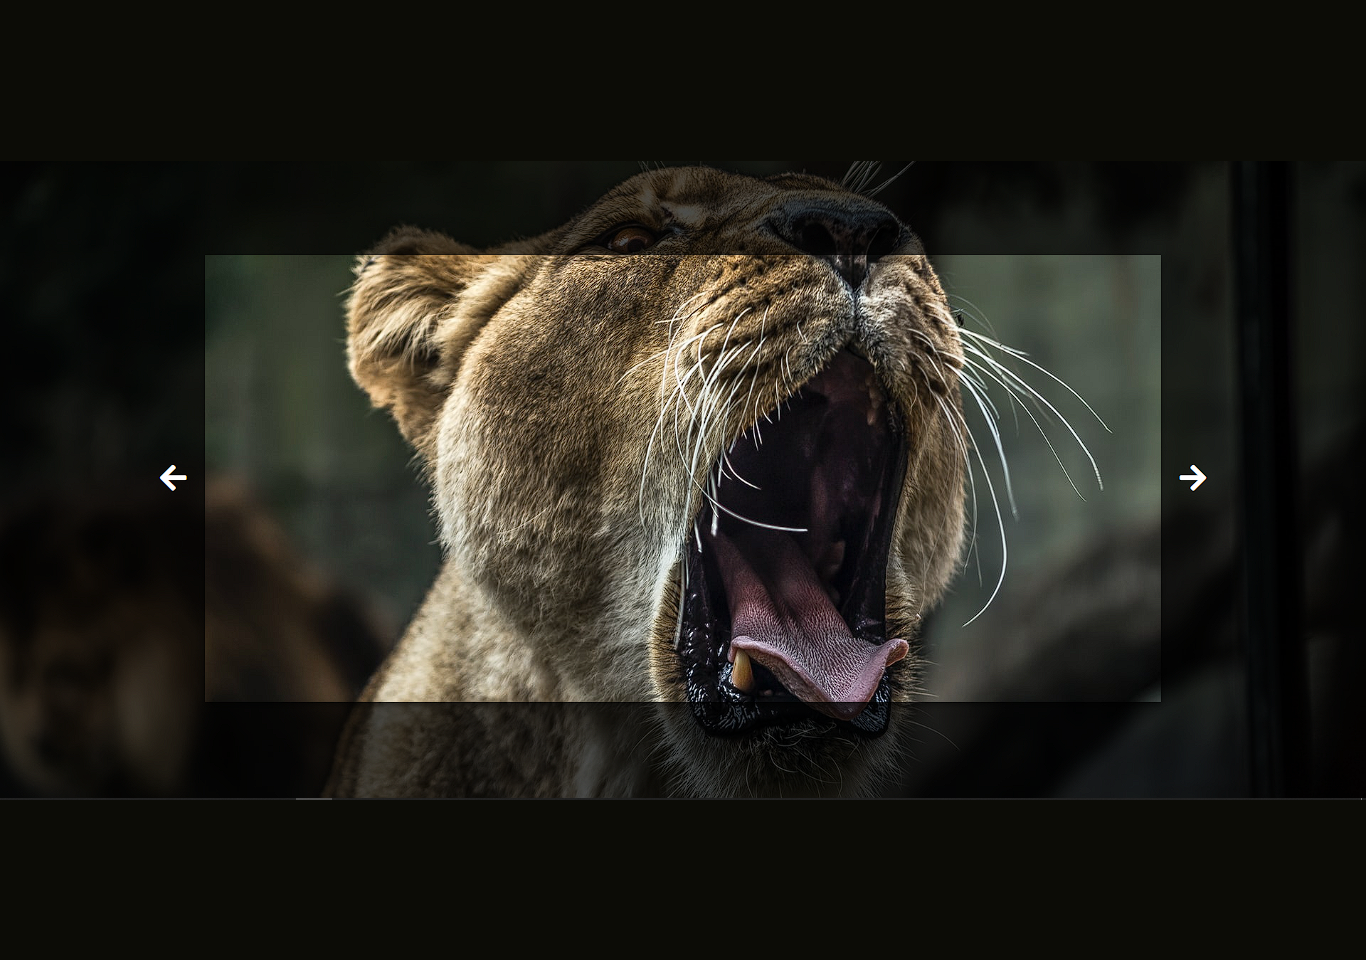
In this tutorial, we will be creating a background image slider. First, we need to create a folder with html, css, images, and js files. This image slider can be seen in different websites. Here is a demo of it. The project includes a set of images. It has a box shadow where the actual image displays, and behind the background image appears. There are two left and right button. The images slide on button click from left to right and right to left. We are using font awesome arrow buttons. The project is responsive from small to large device. You need to run index.html file in the browser to run the project. See the screenshot below.

HTML will be used for displaying images and buttons on screen. You can get free and high quality images from unsplash website.
index.html
<!DOCTYPE html>
<html lang="en">
<head>
    <meta charset="UTF-8">
    <meta http-equiv="X-UA-Compatible" content="IE=edge">
    <meta name="viewport" content="width=device-width, initial-scale=1.0">
    <link rel="stylesheet" href="https://cdnjs.cloudflare.com/ajax/libs/font-awesome/5.15.2/css/all.min.css" integrity="sha512-HK5fgLBL+xu6dm/Ii3z4xhlSUyZgTT9tuc/hSrtw6uzJOvgRr2a9jyxxT1ely+B+xFAmJKVSTbpM/CuL7qxO8w==" crossorigin="anonymous" />
    <link rel="stylesheet" href="style.css">
    <title>Slider</title>
</head>
<body>
     <div class="slider-container">
       <div class="slide active" style="background-image: url('images/image1.jpg');">

       </div>

       <div class="slide" style="background-image: url('images/image2.jpg');">

       </div>

       <div class="slide" style="background-image: url('images/image3.jpg');">

       </div>

       <div class="slide" style="background-image: url('images/image4.jpg');">

       </div>

       <div class="slide" style="background-image: url('images/image5.jpg');">

       </div>

       <button class="arrow left-arrow" id="left">
         <i class="fas fa-arrow-left"></i>
       </button>

       <button class="arrow right-arrow" id="right">
        <i class="fas fa-arrow-right"></i>
      </button>

     </div>
    <script src="script.js"></script>
</body>
</html>
Image slider css
We will be using CSS for styling the whole project. Such as background colour, icons, text, aligning, flex-items, colours and many more.
style.css
@import url('https://fonts.googleapis.com/css?family=Roboto+Mono&display=swap');

* {
    box-sizing: border-box;
}

body {
  font-family: 'Roboto Mono', sans-serif;
  display: flex;
  flex-direction: column;
  align-items: center;
  justify-content: center;
  height: 100vh;
  overflow: hidden;
  margin: 0;
  /* background-image: url(images/image1.jpg); */
  background-position: center center;
  background-size: cover;
  transition: 0.4s;
}

body::before {
  content: '';
  position: absolute;
  top: 0;
  left: 0;
  width: 100vw;
  height: 100vh;
  background-color: rgba(0, 0, 0, 0.7);
  z-index: 1;
}

.slider-container {
  box-shadow: 0 3px 6px rgba(0, 0, 0, 0.16), 0 3px 6px rgba(0, 0, 0, 0.23);
  height: 70vh;
  width: 70vw;
  position: relative;
  overflow: hidden;
}

.slide {
  opacity: 0;
  height: 100vh;
  width: 100vw;
  background-position: center center;
  background-size: cover;
  position: absolute;
  top: -15vh;
  left: -15vw;
  transition: 0.4s ease;
  z-index: 1;
}

.slide.active {
  opacity: 1;
}

.arrow {
  position: fixed;
  background-color: transparent;
  color: #fff;
  padding: 20px;
  font-size: 30px;
  top: 50%;
  transform: translateY(-50%);
  cursor: pointer;
  z-index: 1;
  border: hidden;
  border-radius: 5px;
 }

.arrow:focus {
  outline: 0;
}

.left-arrow {
  left: calc(15vw - 65px);
}

.right-arrow {
  right: calc(15vw - 65px);
}
The JavaScript code is added for making sliding images. A click event listener is added on each button which slides images on click. Check the js code below.
script.js
const body = document.body
const slides = document.querySelectorAll('.slide')
const leftBtn = document.getElementById('left')
const rightBtn = document.getElementById('right')

let activeSlide = 0
rightBtn.addEventListener('click', () => {
    activeSlide++
    if(activeSlide > slides.length - 1) {
        activeSlide = 0
    }
    setBgToBody()
    setActiveSlide()
})

leftBtn.addEventListener('click', () => {
    activeSlide--
    if(activeSlide < 0) {
        activeSlide = slides.length - 1
    }
    setBgToBody()
    setActiveSlide()
})

setBgToBody();

function setBgToBody() {
    body.style.backgroundImage = slides[activeSlide].style.backgroundImage

}

function setActiveSlide() {
    slides.forEach(slide => slide.classList.remove('active'))
    slides[activeSlide].classList.add('active')
}
Although the code is provided in this tutorial. You can click the button below to get the full source code of this project.